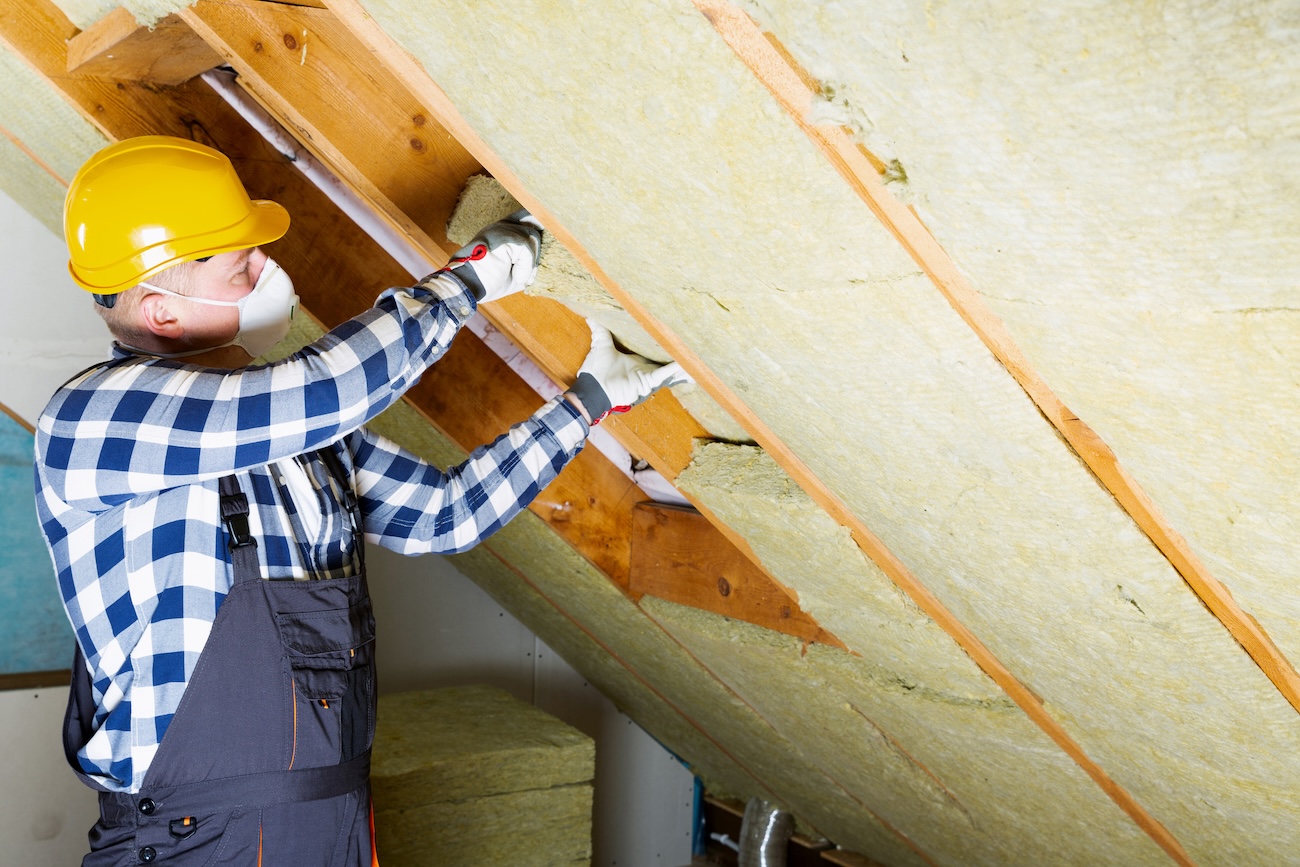
You’re likely one of the 90% of U.S. homeowners whose home is underinsulated. That will cost you in the coming months. Even if Super El Niño warms temperatures in certain regions of the U.S. as predicted, you’ll still need to turn on the heat this winter. That means it’s time to check on insulating your home.
The National Energy Assistance Directors Association expects households to spend $1,030 on heating this winter, an increase of $82 from last year. If you rely on electric heating, prepare for a cost rise of 9%; natural gas users will see a 5.8% increase; heating oil users, 31.3%.
Homeowners with better insulated houses will stay warmer and save 15% to 25% on their bills, says Jeff Flaherty, owner of Wise Home Energy in Rochester, N.Y. But it’s more complicated than stuffing extra insulation into the walls. “Your savings are definitely not linear,” he explains. For example, doubling your insulation’s R-value — a measure of insulation’s ability to resist heat traveling through it — won’t cut your utilities in half, according to Flaherty.
Here are ways to save money and stay comfortable in your home as the temperature drops.
Get a Baseline
Knowing what you’ve spent in the past few winters will give you a better idea of how to start saving money. “Take a full year’s worth of bills. Identify the swing months when you have no heating or cooling, like May or September,” says Sam Rashkin, a long-time housing consultant who has directed national energy programs for the U.S. Environmental Protection Agency and the U.S. Department of Energy. “Subtract that amount from the heating months’ bills so you’re taking out all the other loads and focusing just on heating.” If you’ve been spending only $300 to $400 a season, you’re not too bad off, he adds.
Diagnose Air Leakage
Most homeowners know they feel a draft when they sit near a particular window or door, for example. But if you’re uncomfortable diagnosing an air-leakage problem, consider hiring someone to do a blower door test to verify where you’re losing heat. The national average cost of a blower door test is $325, according to Angi. The good news is many states and municipalities offer rebates and may cover the costs (usually based on income) of a home energy assessment, which often includes a blower door test.
Seal Leakage Points
Insulation allows for air flow, so for the most benefit, you need to air seal as well. “Insulating and air sealing from the top down is the way to do it,” says Michael Matthews, programs engagement specialist with RESNET®, the governing body for the HERS® Index, which measures a home’s energy efficiency.
Common leakage sites include:
- Attic: Remove old insulation and you’ll see a “Swiss cheese of air leakage points — plumbing and duct penetrations, attic hatches, lighting wires,” Rashkin says. “It’s a real expressway for heat to leave the house in winter.” About 20% to 30% of the air that moves through the duct system alone is lost through leaks, holes and poorly connected ducts, according to EnergyStar.gov. You can seal these gaps using mastic sealant or metal tape as a DIY project.
- Basement: As your furnace generates hot air that goes up through the house, cold air is drawn into the basement through any cracks to replace the displaced air. One major culprit causing leakage is the rim joist, the wood perimeter around the house that the first floor sits on and that’s attached to the foundation. Seal the top and bottom of the rim joist cavity, especially around bumped-out areas, such as bay windows that might hang off the foundation. EnergyStar.gov recommends using caulk to seal gaps or cracks that are one-quarter of an inch or less and spray foam to fill gaps from one-quarter inch to about three inches.
- Windows and doors: In winter, windows and doors cause about one-fourth of a home’s total heat loss, says Smarter House. Fixes can be easier and less expensive than replacement. Seal gaps around windows and replace worn rubber seals around door frames to help your home stay airtight, advises Mass Clean Energy Center. The least expensive thing of all is to make sure your windows, particularly casement windows, are “latched tightly to compress the seal,” Rashkin says.
Choose Insulation Types
Insulation comes in many types -– including fiberglass batts and rolls, spray foams, rigid foam boards and even wood fiber. A professional installer can advise you about which type is best for the job at hand and your climate.
One thing you don’t want to do is introduce moisture into the walls and attic. “Each type of insulation will have pros and cons in how it will react to water vapor transferring through the material,” Flaherty says. For example, fiberglass will let moisture filter through. If enough dust, dirt or organic matter accumulate on its surface and there’s enough moisture, the combo can create a mold-friendly environment. Spray-foam, cellulose and batt are also susceptible to mold growth if moisture is present.
No matter the type, though, the “best insulation is properly installed insulation,” Matthews says.
Insulation Costs and DIY Fixes
For materials and insulation, expect to pay from $0.40 to $6.75 per square foot, according to HomeAdvisor, with fiberglass being one of the most affordable options and wood fiber at the higher end.
However, budget-minded homeowners can work on DIY fixes such as sealing the attic hatch. Rashkin suggests insulating the attic hatch, preferably with rigid insulation board at least two inches thick and installing gaskets around the perimeter to seal it.
Your goal might be to save money, but proper air sealing and sufficient insulation have quality-of-life benefits. Matthews says, “When you look at the bigger picture, you’ll have better indoor air quality and comfort.”
Stacey Freed writes about the built environment, lifestyle issues, education and pets. Her work has been published in “The New York Times,” “Real Simple” and “USA Today,” as well as at AARP.com and Forbes.com. She is the former vice president of the American Society of Journalists and Authors.
